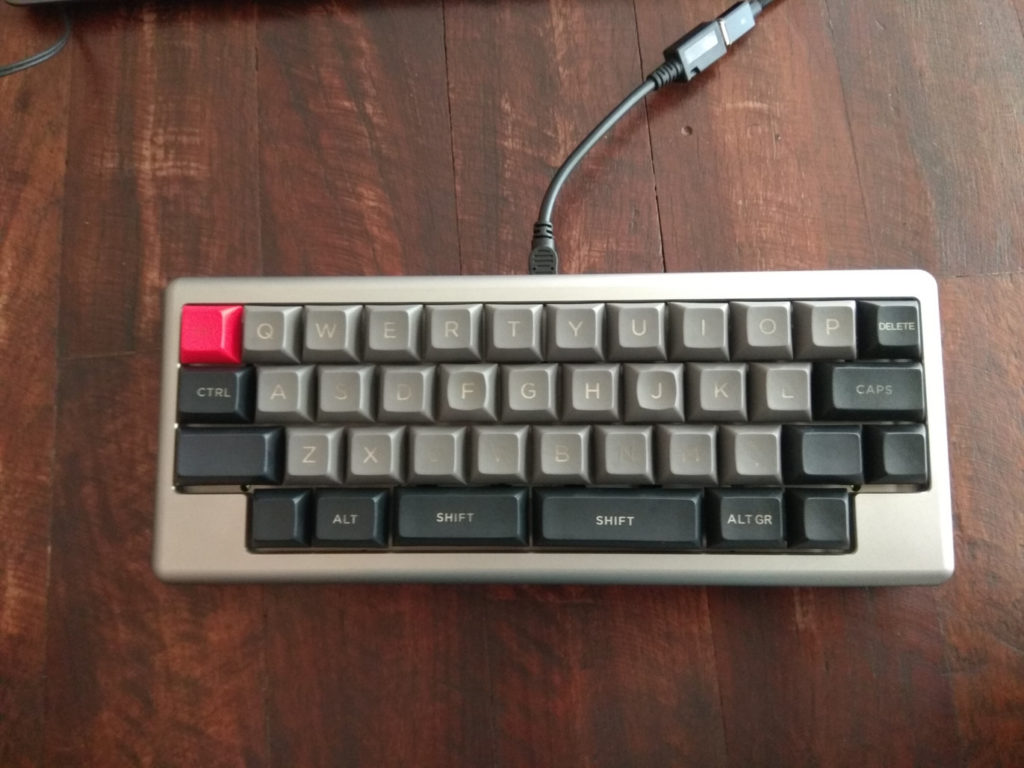
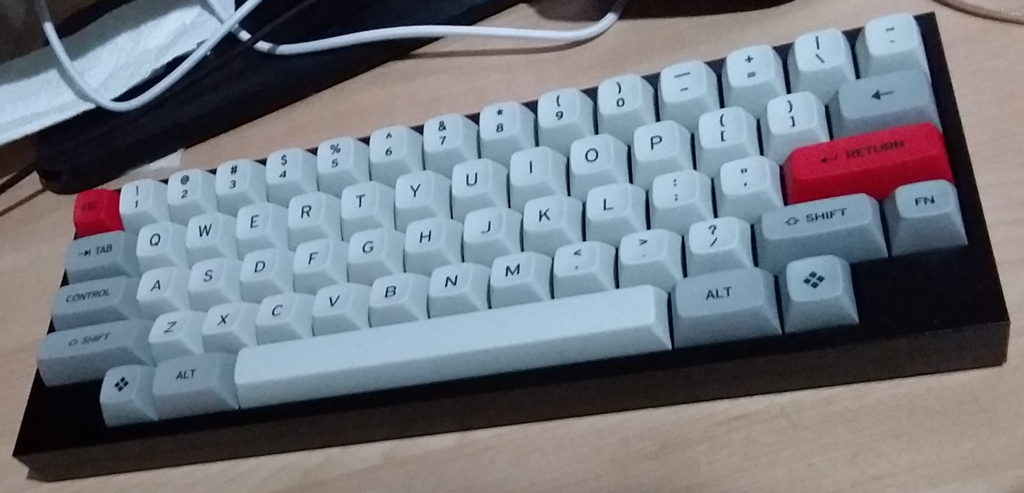
Tofu HHKB
UPDATE 14th April 2019 : reviewed another hotswap HHKB – the 1Up Keyboards HHKB Kit
Having received my Tofu HHKB kit yesterday and already having a Tokyo60 in my possession, I felt that I was in a unique position to offer my viewpoints comparing both of the keyboards since they are similar in terms of features and price.
After assembling my Tofu HHKB and flashing my layout on it, which was a pretty straightforward process since I built the Tokyo60 almost a month ago, I gave it a test run and starting typing out my thoughts about both keyboards. First it started off as a few paragraphs, then I realized I had a lot more to say than I initially thought. As I wrote more, I decided to just put the information down as a table (see below). Also, please forgive my terrible photography skills as I’m not a photographer and I don’t have a decent camera – regardless, you can just browse Reddit to see much better pictures of the keyboards.
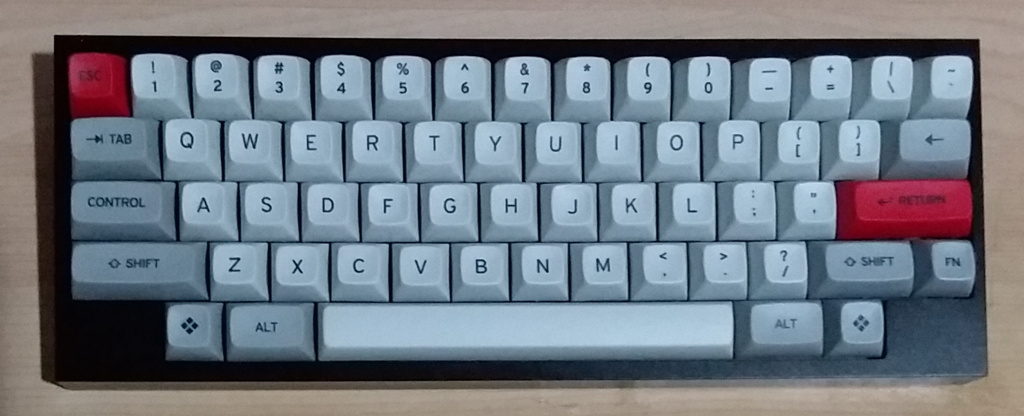
Tokyo60
For context, I own an HHKB Pro 2 (my first and only Topre board) that I use very often. Since adapting to the layout, I’ve programmed it on all my keyboards since I really enjoy it. When the opportunity to get a custom HHKB that didn’t need any soldering, I jumped on it – which was how I joined the Tokyo60 round 1 group buy. A few months after that, KBDFans (great online store btw) decided to release a HHKB version of its Tofu keyboard I hopped on that preorder as well. Now I own two hotswappable HHKB keyboards.
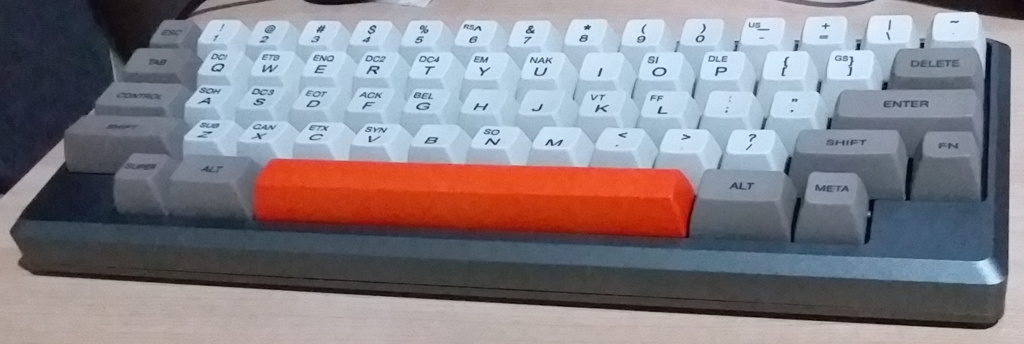
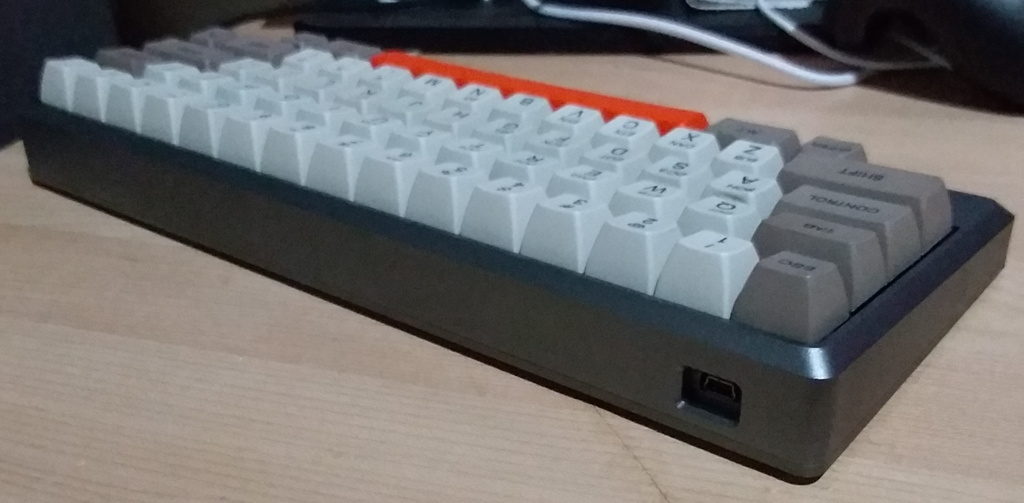
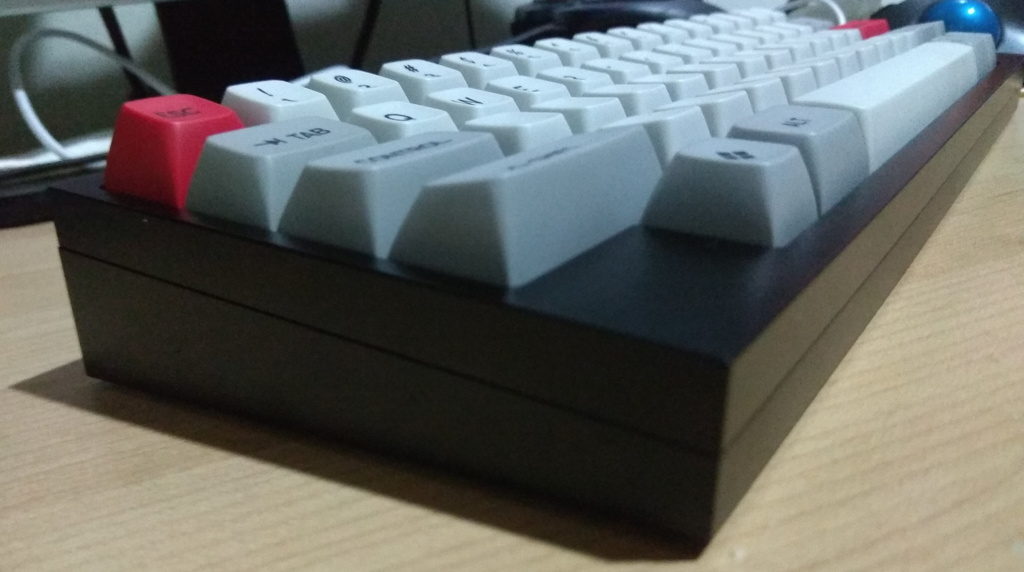
Tofu HHKB rear
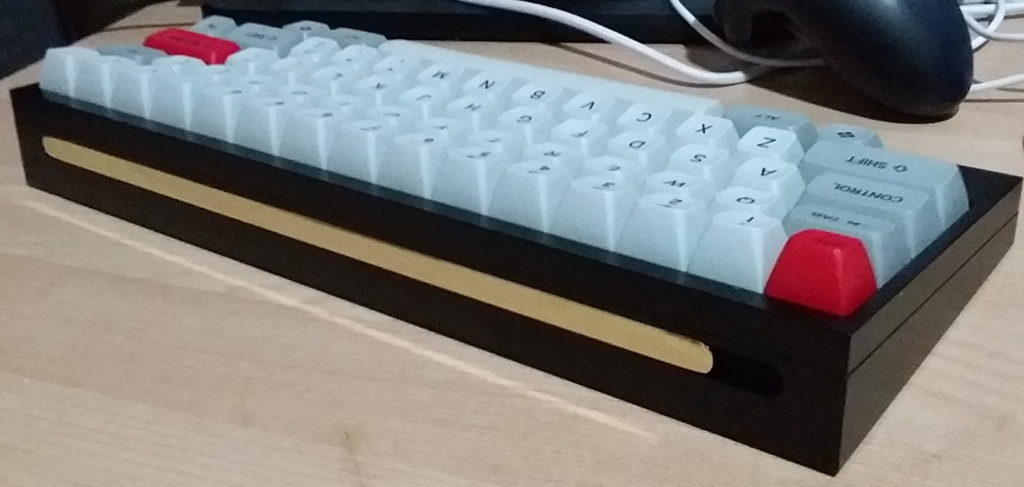
Tokyo60 rear
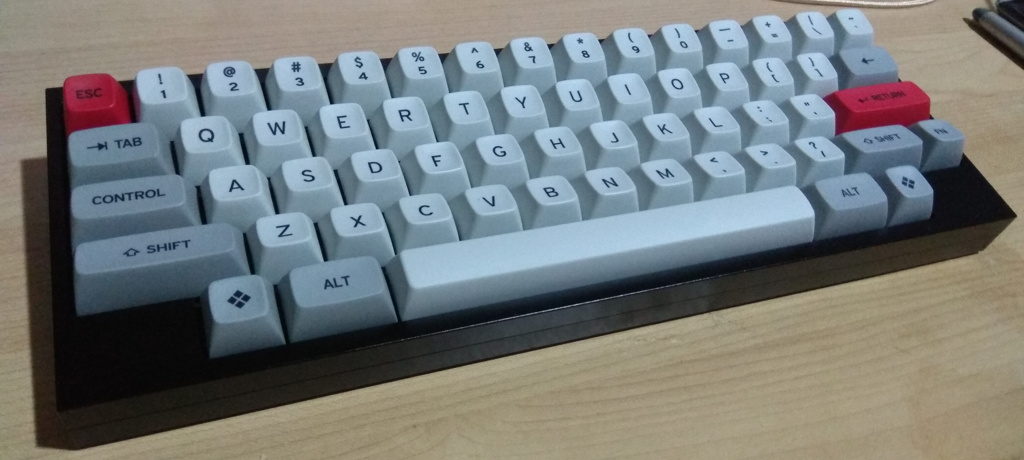
I love how the Tofu HHKB looks – its minimalist approach with its sleek edges and sharp corners really tickles my fancy. The shiny brass weight at the back really ties it all together, giving a little bit of spice to an otherwise reserved design. I think it looks much better than the Tokyo60 – not that it is a bad-looking board in the first place, it’s just very generic and subdued if you put them side by side. I know quite a lot of people complained about the gaps on the Tokyo 60 since they weren’t representative of the render but I honestly don’t mind them at all. Sure, it sucks that there are ways for your food to get into your keyboard, but honestly – you shouldn’t be eating at your keyboard in the first place.
Tokyo60 gaps
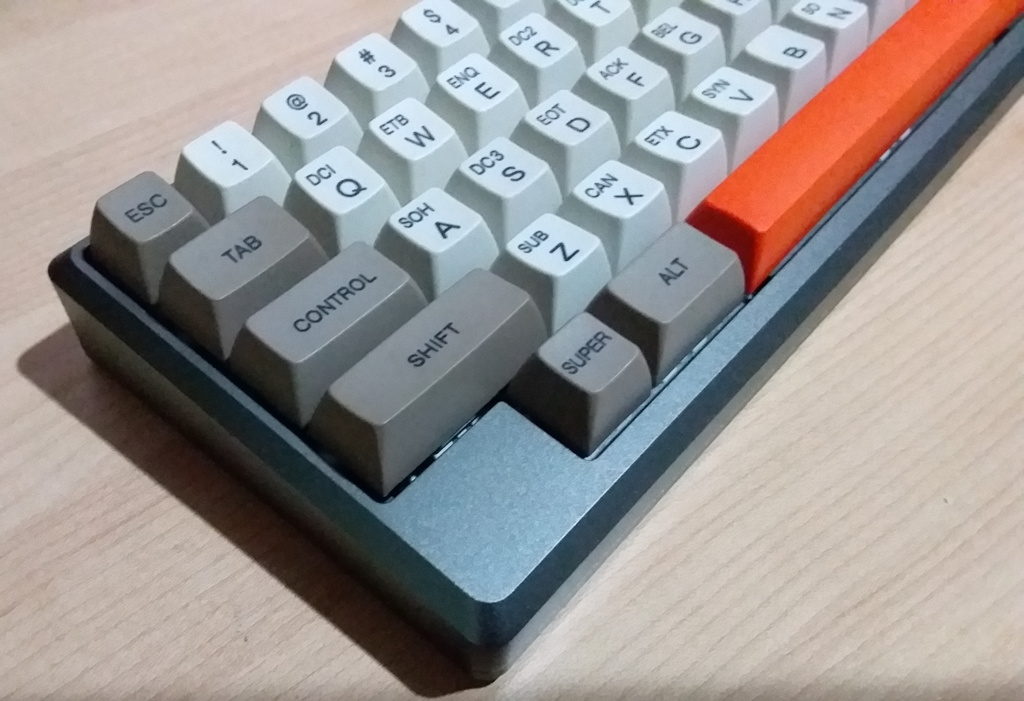
Tofu HHKB gaps
However, when it comes to almost everything else, I think the Tokyo60 has the Tofu HHKB beat. I’m not sure if I received a bad Tofu HHKB PCB (but based on some Reddit comments that I’ve read, I wasn’t the only one) – I had a few loose Kailh sockets that I had to fix in place with some electrical tape (hopefully they hold out and I don’t have to resort to resoldering them in the future). This really affected how I felt about the keyboard – it was like receiving a substandard product. I’m not sure if it’s due to the alignment of the plate/PCB but inserting switches to the sockets was also a bitch to do – I had quite a number of bent legs despite be trying to insert the switches as carefully as possible. I only bent about 5 switch legs when inserting them into the Tokyo60. Also, when I was removing keycaps from the Tofu HHKB, most of the time, the switches would come out with the keycap. This could be due to extra tight keycaps, a tight switch stem, or issues with the tolerances for the switch sockets.
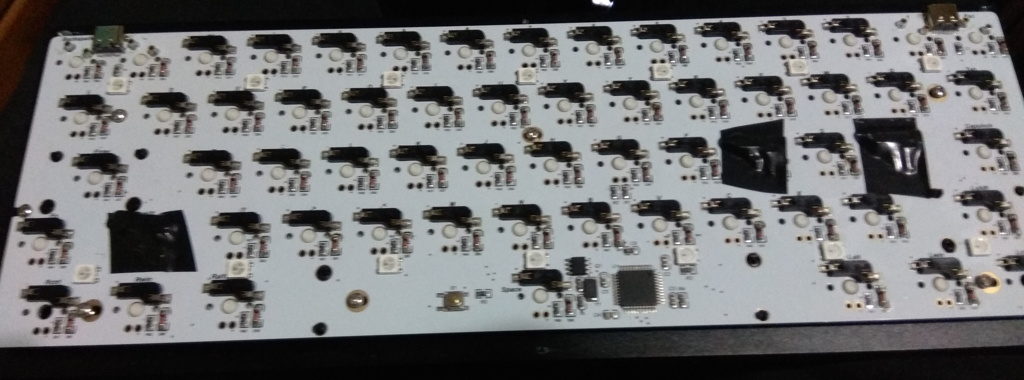
Tofu HHKB PCB
UPDATE 7th October 2018: after speaking to a KBDFans rep, they mentioned that they’ll be sending me a new PCB, so I’ll be updating my review once I’ve received it!
UPDATE 29th October 2018: received my replacement PCB today, assembled the keyboard with no issues – no sockets coming loose and not many issues with bent pins (only bent 3 switches this time around). Everything is working as expected, so the only complaint I have with the PCB is that it is uglier than one for the Tokyo60 (which may or may not be a valid complaint for other people – I’m not bothered by it).
Both keyboards come with underglow RGB support and no way to show the lights. Tokyo60 addresses this with the round 2 extras but I have no idea if KBDFans will be doing anything about it in the future. Also, even though you don’t see the PCB when the keyboard is assembled, I appreciate the design put into the one of the Tokyo60 – it looks great, while the HHKB Tofu PCB I received was plain white with no design at all.
Here’s how the underglow looks like at the moment – essentially useless since there’s no way to see it clearly unless you look in between your keycaps at a certain angle. This will also probably vary depending on the keycaps you have installed.

Tofu HHKB underglow
Tokyo60 underglow
Programming both boards was straightforward (if you’ve used QMK before) so I had no issues there. The weight on the Tofu HHKB also works as a slider that allows you to choose which USB C port you’d like to use (or you can remove it for a lighter board and access to both ports). However, the keyboard didn’t come with a USB C cable which was a minor annoyance, while the Tokyo60 had a mini USB cable bundled with it.
| Tokyo60 | Tofu HHKB | |
|---|---|---|
| Price | USD 159.99 | USD 159.00 |
| Appearance | Good, nothing to shout about – a standard-looking custom MX HHKB. | Great, sleek design with sharp corners. In my opinion, a very sexy design, especially with the shiny weight at the back. |
| Build quality | Good, solid case, no issues fitting together. No issues when removing keycaps. | Good, solid case, no issues fitting together. Weight gives it additional sturdiness. Not sure if it’s due to the size of the sockets or the tightness of my keycaps, but removing keycaps pulls the switch out together as well. |
| PCB | In terms of design, it looks great, Kailh sockets work well without any issues. | Plain looking PCB (not that it matters), (Update 29th Oct: received the PCB today, assembled the board with no issues – no more problems with sockets falling out and only 3 pins bent this time around!) |
| Ease of assembly | No instructions provided, but there were no issues here – very straightforward. | No instructions provided, but there were no issues here – very straightforward. |
| Ports | Mini USB, left side. | USB C (two ports) left and right. |
| Underglow | RGB underglow enabled on the PCB, but there’s no way to see it. However, an acrylic base is scheduled for R2, so that issue will be rectified. | RGB underglow enabled on the PCB, but there’s no way to see it. No idea if there are plans for an acrylic base. |
| Included accessories | Mini USB cable, screws, GMK stabilizers. | Two blank keycaps (not sure what they are for), brass weight, magnets for the weight, screws, stabilizers (not sure what brand they are but they came disassembled and they don’t have any extra legs to clip). |
| Firmware | QMK. | QMK. |
Overall, I’m satisfied with my Tofu HHKB (I really wish the Kailh sockets were soldered on properly – hopefully they have better QC in the future) and would recommend it to anyone looking for a hotswap HHKB custom keyboard. It also has the added benefit of being in stock, while buying the Tokyo60 would mean waiting for it to go live on Massdrop (round 2 just ended). In terms of practicality, they’re both the same – just choose which keyboard you want based on its design.
Other notes:
The Tokyo60 does have more exciting colors, but you’re going to have to wait til next year to buy one.
The Tofu HHKB is available in a variety of colors, with mixed halves as well, but nothing as eye-catching as Akira Red, Rose Gold or Ink.
The Tofu HHKB is my first keyboard with Gateron Greens and I’m really digging them. They are definitely less tactile than Box Navy switches (on my Tokyo60), but with the added benefit of being not as loud. There’s still a satisfying click, especially with /dev/tty MT3 keycaps.
Speaking of keycaps, this is also the first time I’m using MT3 keycaps. I’m using the full-sculpt profile (row 1-5, no row 0 on HHKB) and they’re definitely reminiscent of SA keycaps. I now understand what all the reviews are talking about when they say that these caps cup your fingers. I’ll need to spend more time typing on them to form a stronger opinion but I’m liking it so far. While I’ve spotted some alignment issues (as is expected with dyesub keycaps), they’re not too glaring. My main issue is the text thickness of the characters on the number row – in my opinion they look a little too bold compared to the alphas.
Typing Tests:
Tofu HHKB
Gateron Green switches
/dev/tty MT3 keycaps
Tokyo60
Kailh BOX Navy switches
SA Control keycaps
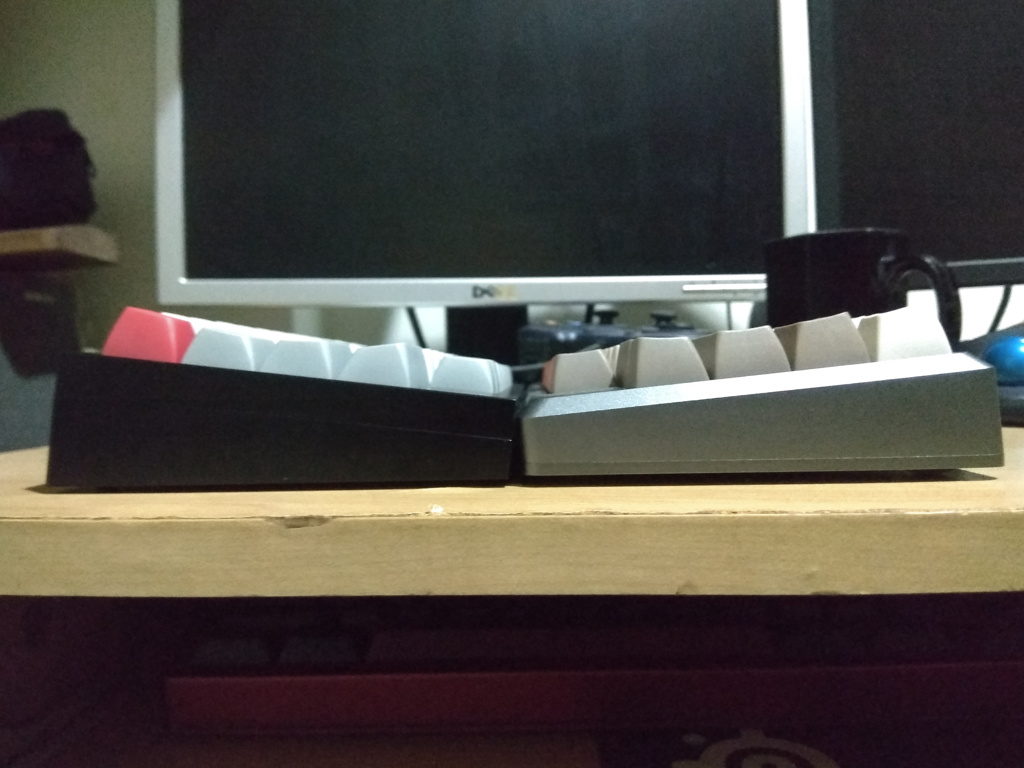
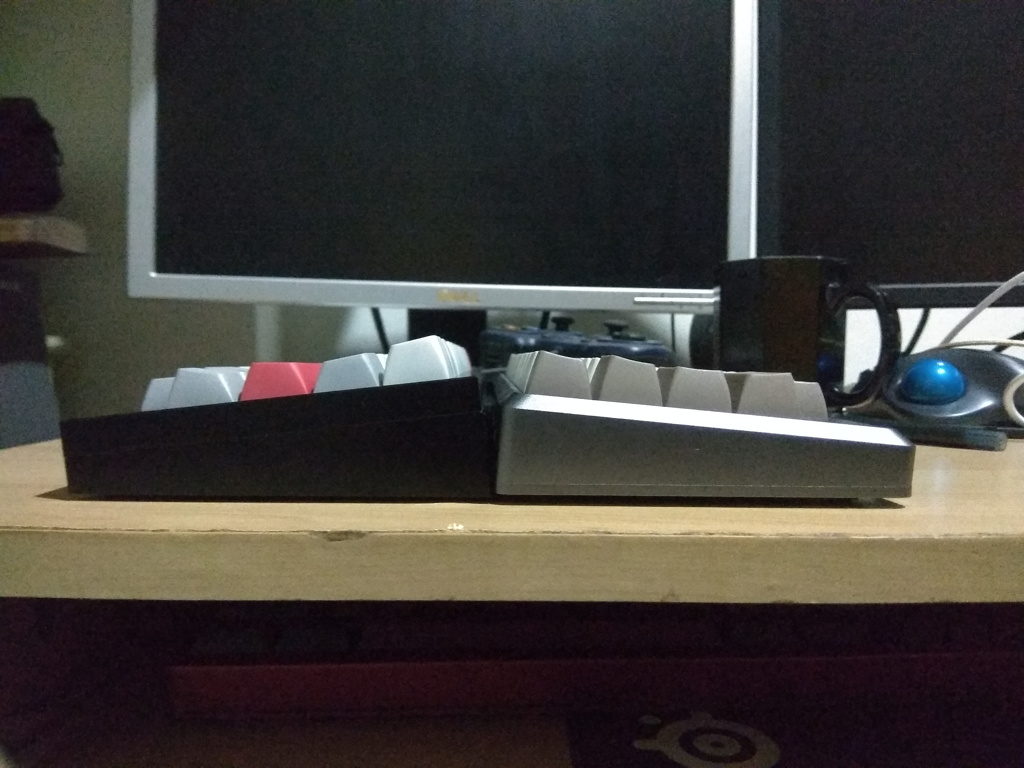
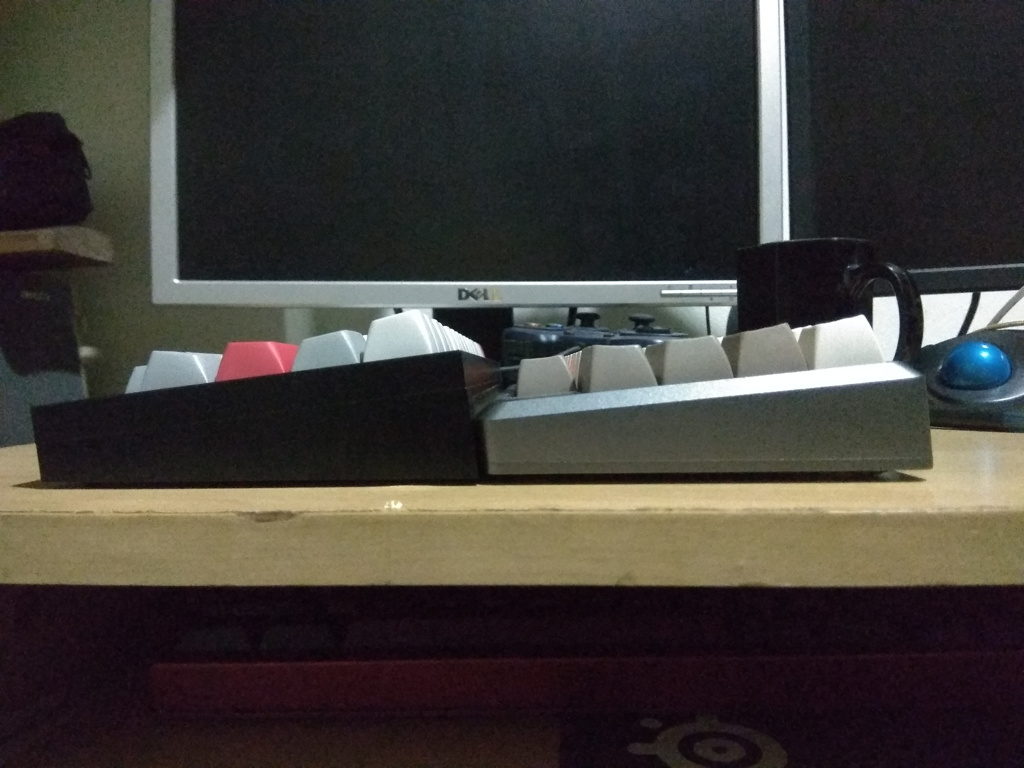
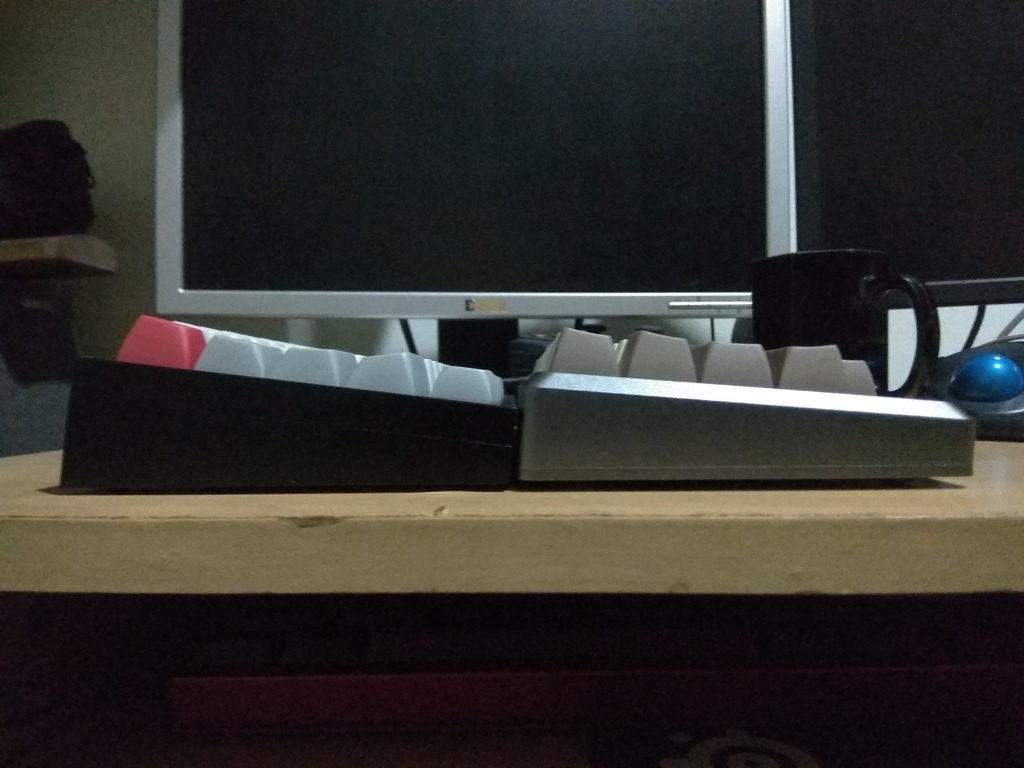
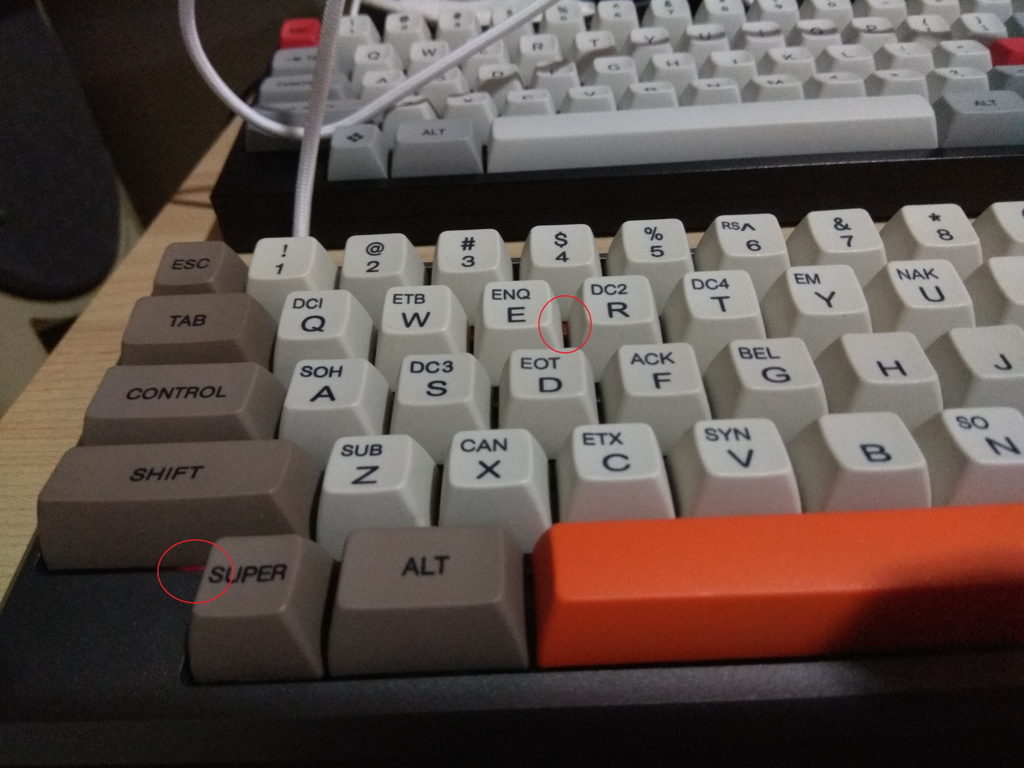
As requested by a user from Reddit, I’ve taken some shots of the keyboards side by side so you can compare the differences between their heights/angles.