Over the past two weekends, I took the next step in my mechanical keyboards journey – I started soldering my own keyboards. It was something that I was initially hesitant on picking up because of my lack of experience, but after spending over a year in the hobby I decided that it was the correct thing to do.
While this post isn’t going to be useful for anyone who’s already experienced in soldering, I thought I’d share some pointers I picked up firsthand and hopefully help some beginners out there.
Building a keyboard isn’t difficult, and soldering switches is probably the easiest part of building a keyboard. The fact that I, a 33-year old man with no experience or DIY skills, could follow instructions to put a kit together is a testament to how easy it is.
The most beginner-friendly way to begin is to pick up something like a simple numpad kit that has all the onboard components already soldered in. This way, you can get a taste of what it’s like to put a keyboard together by just soldering the switches in, which was what I did.
I picked up this numpad kit from AliExpress and managed to build it in under half an hour. It was that straightforward.
This technique mentioned in the Soldering is Easy comic is correct. You place the component between the iron and the solder – this way, you’ll ensure that the solder will stick to the component because it will only melt the solder if the component is hard enough. This site has some pictures of what a good solder joint should look like.
I might be wrong on the theory here, but what I’ve discovered is that solder will only stick to parts if they are hot enough (or coated with flux?). This is something I did not know at the start. If solder isn’t sticking to your iron instead of your components or the PCB, that means it hasn’t been heated long enough. I know that flux is involved here as well, but I haven’t figured out how that works yet. I know that if solder isn’t sticking to a joint, I continue heating it until it does.
Initially, I did not know why my solder wasn’t melting despite me holding the iron against the component for quite a long time. This resulted in me sticking the solder directly onto the iron to melt it to form a connection – which was the wrong move. This could result in cold joints where the solder is only formed around the joint and PCB, but not creating a connection.
It might seem obvious, but use as much of the soldering iron tip as possible to heat your components. When I first started soldering, I was wondering why sometimes solder would melt instantly vs other times when they wouldn’t melt at all. It was by accident I realized the whole tip of the soldering iron could be used to transfer heat to the components. That was a game-changer for me. Once I learned this, the task became so much easier to do.
Speaking of tips, I found it easier to work with a cone-shaped tip than the fat square tip that came with my soldering iron (TS80). Even though the fat tip was much faster when it came to heating up components, it felt so unwieldy in my inexperienced hands. From what I’ve heard, it can be the better choice in some cases, but I guess I’ll find out in the future. Having a small and precise head to work with turned out to be the right choice for me. If you’re struggling with a square tip, maybe changing to a smaller cone might make the difference.
Fortunately, the fine folks over at The Board Podcast Slack gave me loads of good advice before I started soldering, and one of the best tips was to pick up a solder sucker. I’m very glad I listened because if I didn’t have one with me, I doubt I would have managed to finish any of my keyboard kits. These things are invaluable. Because unless you’re perfect and know how to use the right amount of solder each time, and never make bad joints, they will come useful in the future when you’re desoldering switches. I think there are much more advanced tools you can use for the job, but this SS-02 Solder Sucker has served me well so far. I’m pretty sure I’ll get a lot of use out of it in the future.
As for maintaining your solder sucker, it’s not too difficult – make sure it isn’t clogged up with solder – use some tweezers to get rid of solder stuck in the head every few uses.
Another good tip I’ve picked up is to reflow your joints after you’ve finished them. It might be troublesome, but sometimes it’s better to be safe than sorry. Sometimes joints may look good or functional even if they’re not. After you’re done soldering, it’s a good idea to use your iron to reheat the components and the solder again to reform a connection. If you don’t have a multimeter to test your connections, reflowing solder can help reduce the number of bad connections on your board.
Other tools that I’ve found useful: flush cutters (for trimming stab legs, pro mico headers and switch-legs for shorter cases), tweezers (to hold small components like SMD LEDs or wires in place, and to bridge connections if you ever need to test something), and a screwdriver set with multiple head types (you never know what kind of screws you’ll be getting with your keyboard). A multimeter is also a useful tool for you to test if you have any faulty components, or to test if a switch has been soldered in properly – very useful when you’re building a keyboard that can’t be powered on without a controller.
Lastly, I’d recommend a good place to work while you put your keyboard together. Besides having adequate ventilation and bright lights, you want a table that’s high enough so you don’t get neck strain (like I did) while spending hours soldering components to a PCB. Clamps with adjustable hands would also help for certain components (I’m definitely going to pick up one of these in the future) because trust me when I say it’s no fun trying to solder wires to headers without one of these. It feels like you need three hands just to do the job.
On a side note, desoldering a pro micro has got to be one of the most challenging things to do. I haven’t been able to do it properly yet, but it’s one of the skills I’ll need to pick up in the future. I’ll update this post when I get that down!
Some answers to questions I’ve seen floating around the internet:
What kind of solder do you use?

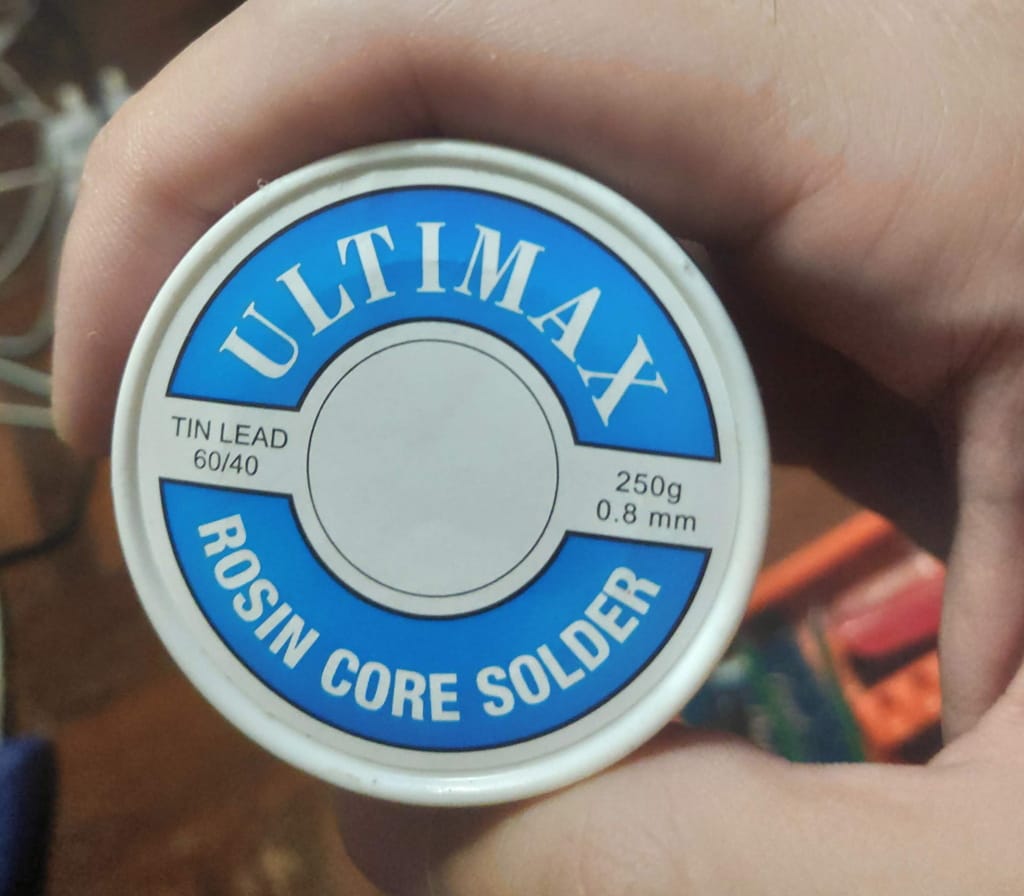
I use some cheap solder (photo above) available at my local Ace Hardware which is 60/40. It probably isn’t as good as some other well-known brands but it works for me. I’m no expert but I think most leaded solder with rosin core will do (you need rosin core so it can work for electronics).
What temperatures do you work with?
I initially started at 300° Celsius, but I found that the solder I used melted way faster at 350° Celsius, so I’ve been working at that temperature. It really depends on what you have, so experiment to find out what works for you. If you’re fast and more experienced, you can go even higher to reduce the wait time for your components to heat up. Also, don’t be too afraid of damaging your PCB/components. Unless you’re heating at a super high temperature (something I wouldn’t recommend if you’re new), you shouldn’t be too worried about causing any damage, especially if you’re only doing through-hole components.
Basically, that’s all I have to say on the topic for now. If you have any questions or suggestions, feel free to drop a comment below. I’d be more than happy to hear tips from those with more experience than me.
This post was written on my Fourier and Tanuki – the two keyboards I put together over the past two weekends.
Leave a Reply to goodnewsgeorge Cancel reply