
After using the Tokyo 60 and Tofu for a few months, I realized that they’re not as portable as I’d like them to be. Even though they’re not heavy like a full-sized keyboard, you start to feel the difference in your backpack – I could tell whether I had one of them inside by the weight of my bag alone. While I have a regular HHKB, its lack of customization (without a Hasu controller) annoys me sometimes, especially because I love using mouse keys when working on my laptop.
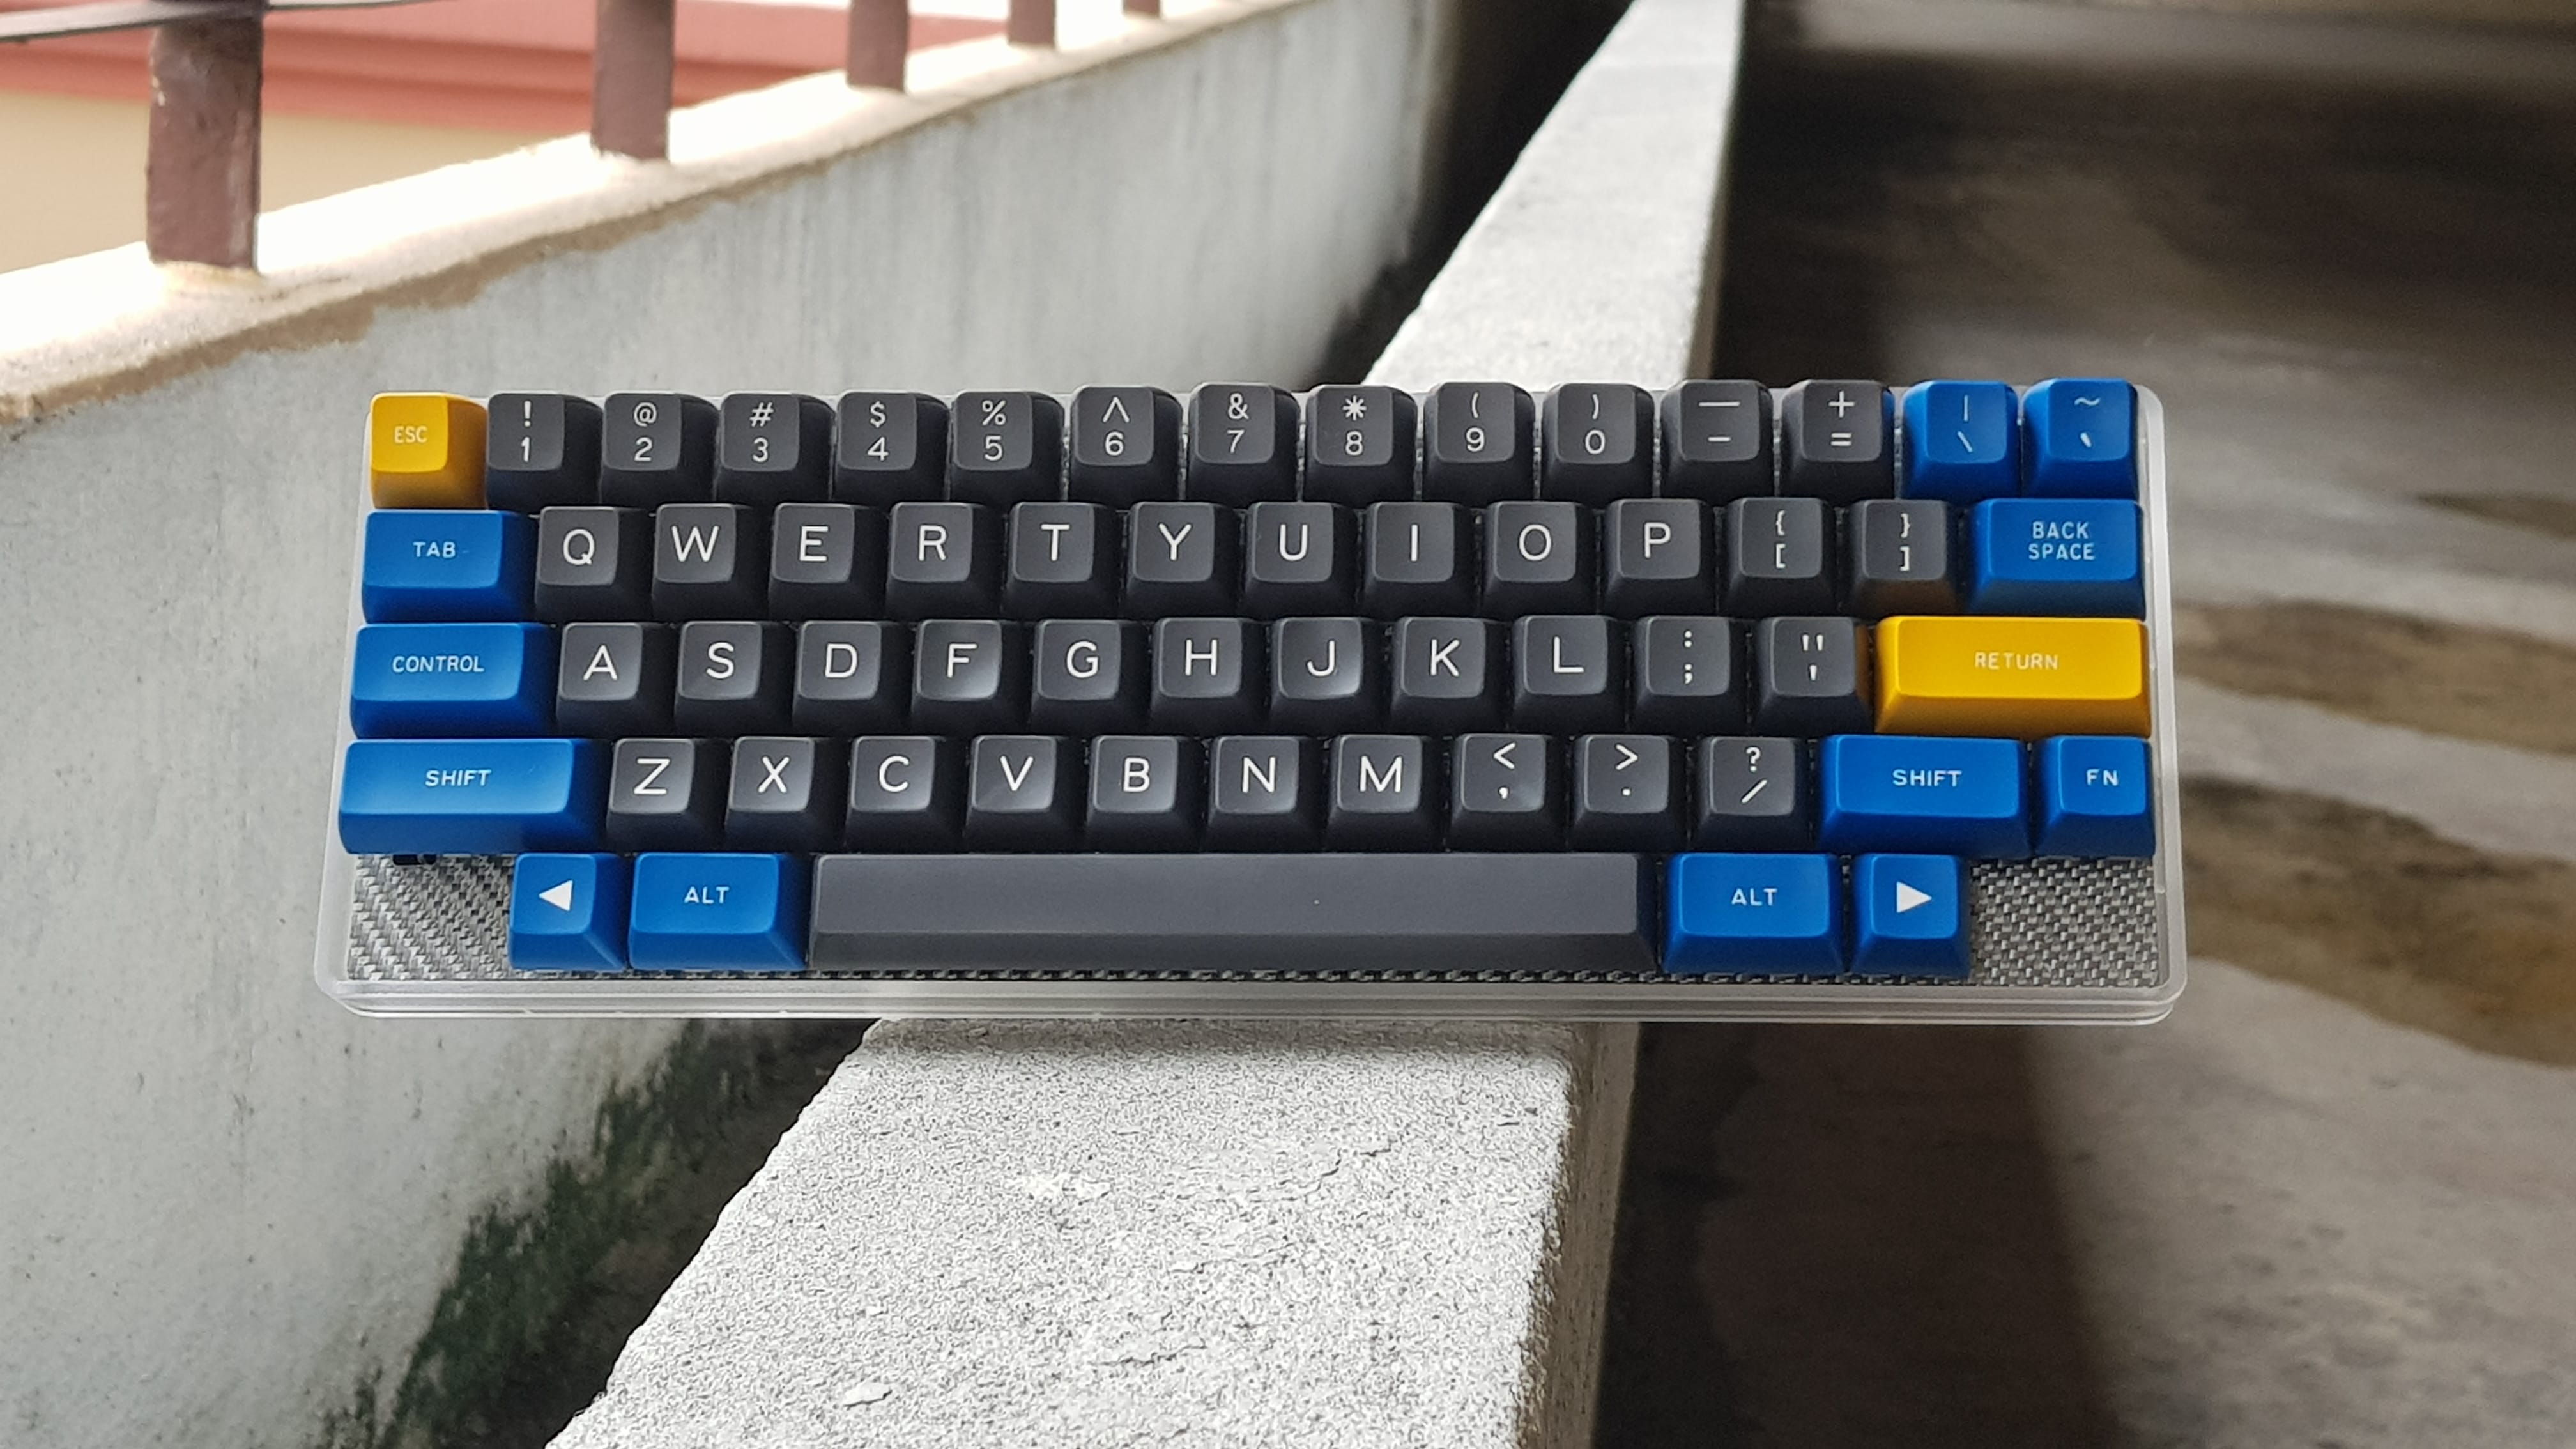
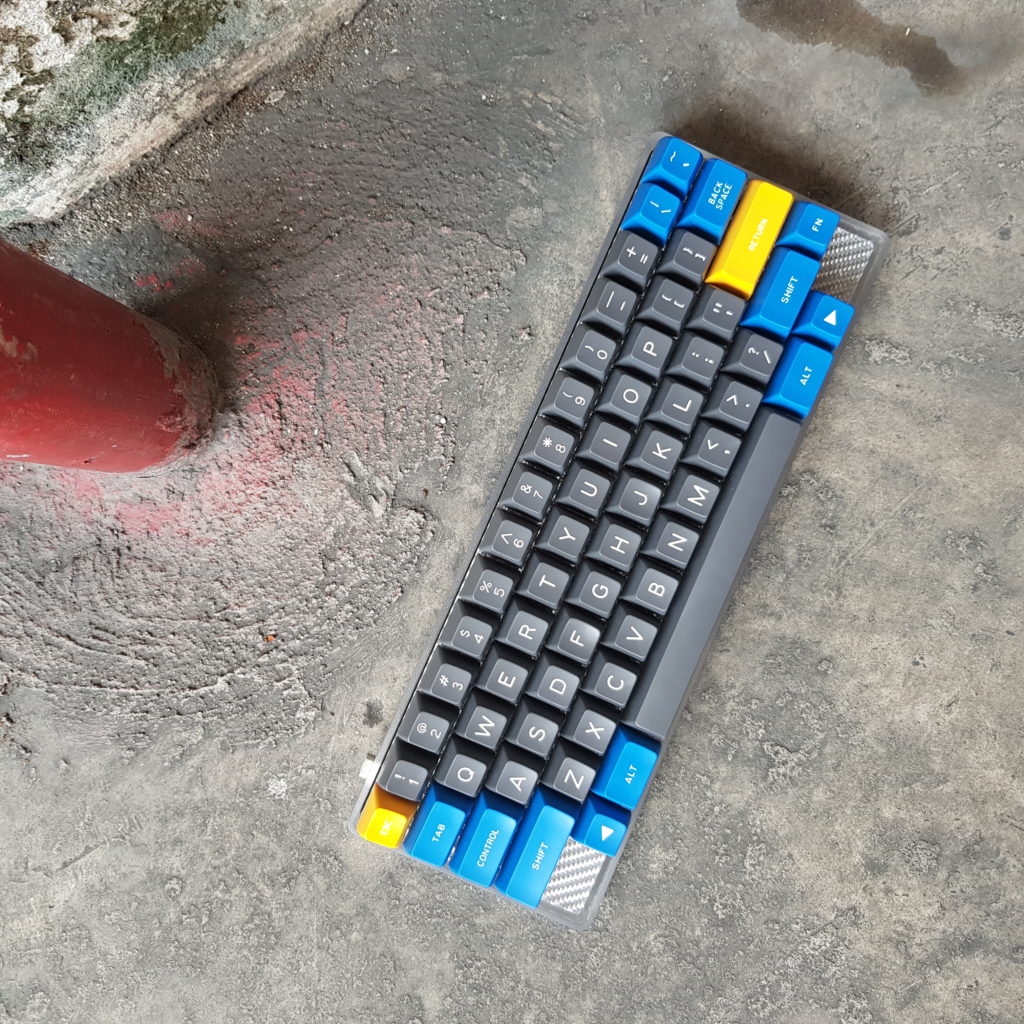
I’ve been keeping my eye out for a lightweight HHKB custom keyboard, and when 1Up Keyboard’s Hotswap HHKB Kit flew into my radar, I knew it was what I wanted. Here’s what I ordered: clear plastic case, carbon fiber plate, hotswap Tsangan PCB, and stabilizers. I got my switches and keycaps elsewhere.
Firstly, I want to shout out about the purchasing experience on the 1Up Keyboards site. It’s been the best purchasing experience I’ve ever had on any keyboard shopping website. It was so easy to make sure I got everything I needed for the keyboard. There are easy-to-use drop down menus to select what you want, with prices listed clearly and total price updating live. All the options are selectable on a single page, and they make sure you can only choose compatible parts. Even though I didn’t need it, I can see how easy it would be to recommend to people who are building their first keyboard.
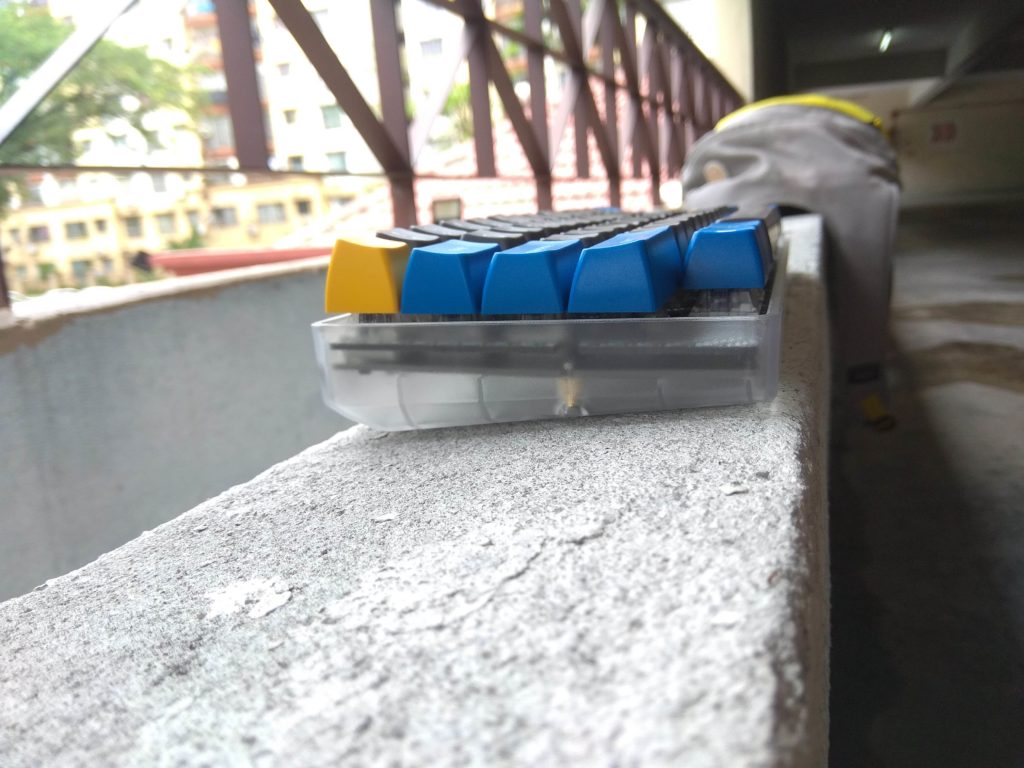
Back to the keyboard. It arrived undamaged, in no frills packaging that was sufficient to keep it protected. No complaints there, I also received a whole bunch of stickers to use. I assembled the board with no issues. I have never used a carbon fiber plate prior to this, so I expected it to be extremely flimsy – I was so wrong. Switches snapped in nice and snug. It worked just like a normal plate that was very light.
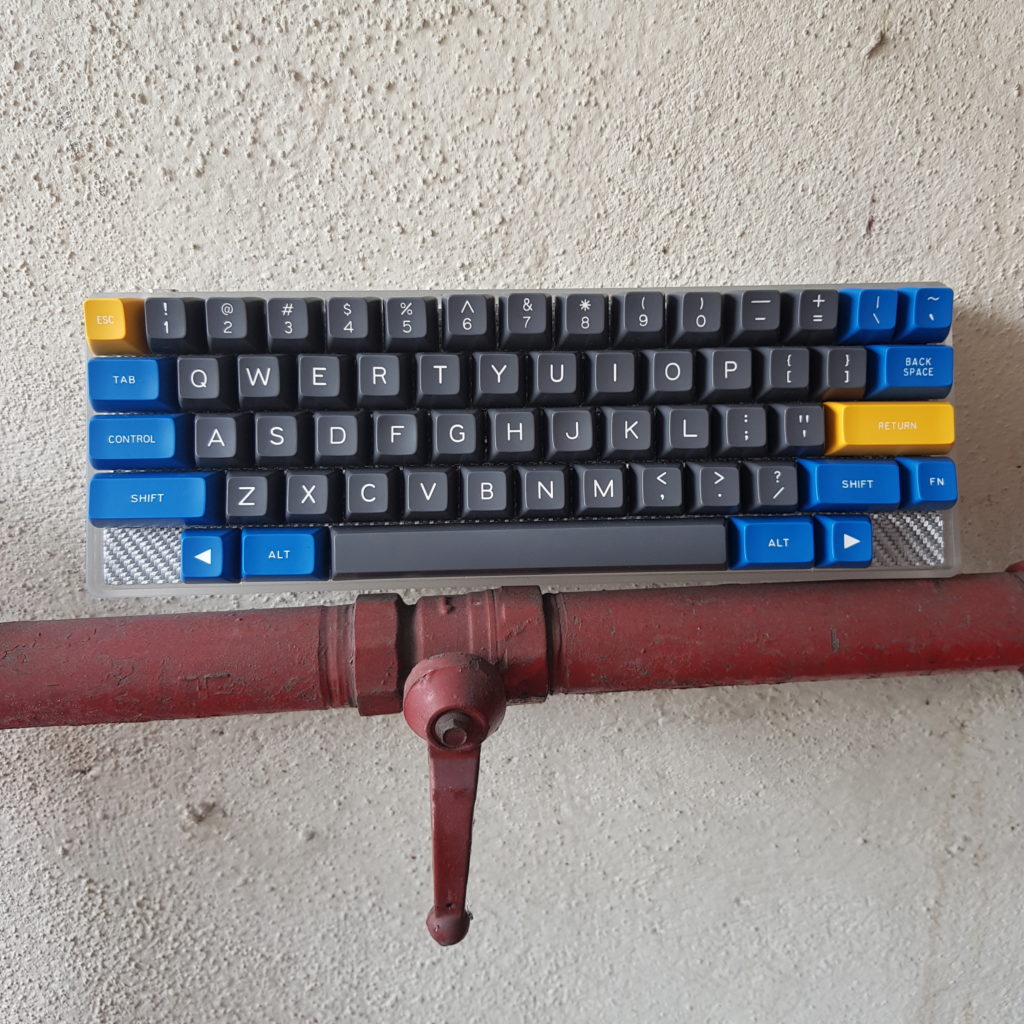
I put on Box Navy switches with Maxkey SA keycaps on this and was surprised to feel that it was even lighter than my HHKB (I don’t have a scale that’s accurate enough to measure the difference – my test was holding one keyboard in each hand, so I could be wrong). I was very impressed by how light it is. I suspect it would be even lighter with different (shorter) profile keycaps on. Regardless, it met my requirements of a lightweight, programmable MX-style HHKB.
First thing I noticed about the typing experience was the flex. While it didn’t feel like I was bending the PCB, my keystrokes felt more cushioned compared to typing on a metal plate. Then again, it could have been the effect of a tray mount vs. integrated plate (which the Tokyo60 and Tofu HHKB use). I would probably need to use more plates and mounting styles to come to a conclusion. In my opinion, the switches and keycaps that you use will probably have a more noticeable effect than the type of plate but this is coming from someone who’s relatively new to the hobby. More experienced people would probably tell you otherwise. As to whether this feels better or worse – I’m indifferent. Flex vs no flex is a personal preference, and I don’t have a preference for either.
Typing on SA keycaps on Box Navy is a pretty enjoyable experience. The thick clicks are definitely amplified and people know when you’re hard at work, or gaming. I’ll be trying out different switches in the future (the positives of having a hotswap board) to see if they work better with the flexible plate.
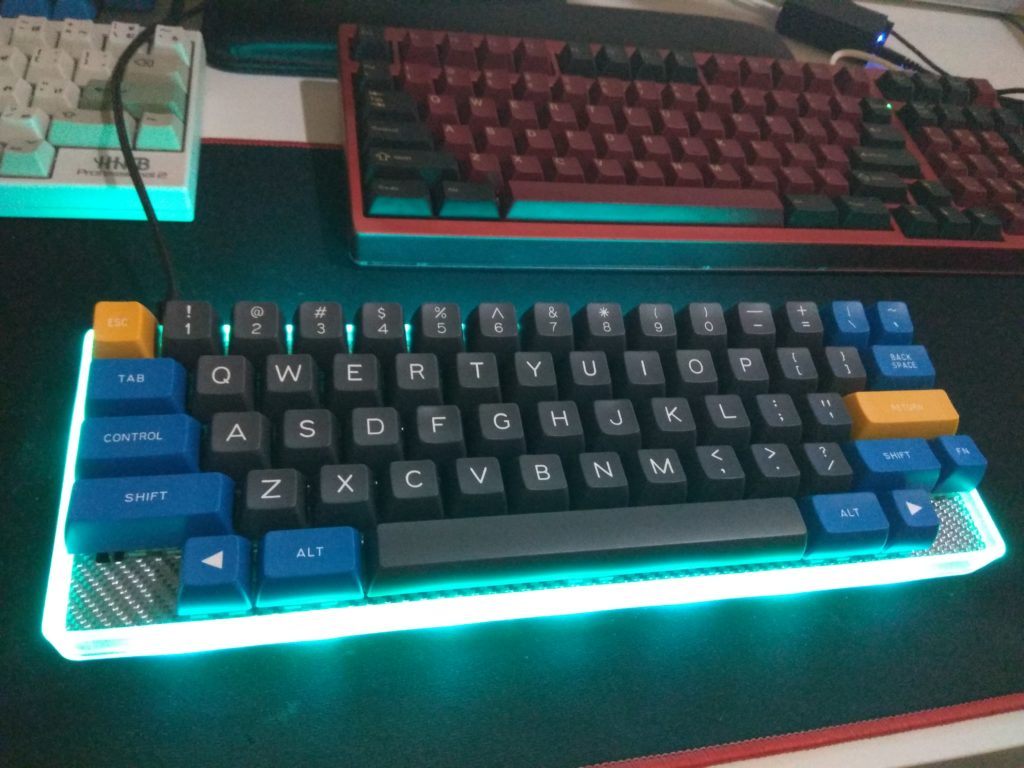
The underglow lights on this thing is bright – especially when paired with a clear case, you can easily illuminate the surface around the keyboard. Fortunately, you can easily disable them if you find it distracting (I only turn on the underglow for photographs as I rarely use it when I’m working). You get the standard RGB modes and colors you can access through QMK, nothing out of the ordinary here.
Programming the PCB was easy – just like any other QMK PCB. However, I’ve been seeing an issue with the board pop up a couple of times on the 1Up Keyboards Discord: my PCB arrived unflashed. This meant, I couldn’t input any keystrokes on the keyboard when it was first assembled. I had to use the physical reset button (fn+b wasn’t working for me) to get it into bootloader mode before flashing my keymap. This isn’t a big deal for most people, but some sort of default layout would have been helpful for those who decide to screw the board into their case before flashing it (you can’t access the reset button without removing the PCB from the case). I’m not sure if it’s an issue for all of the PCBs they sell, or me and the people who complained were only the minority.
Issues: I won’t lie – the silver carbon fiber plate is hideous. I should have gone with black or red, though I can’t expect it will look much better. I’m not sure if it’s possible, but a texture-less version of the carbon fiber plate would have been more up my alley. This is my biggest problem with the keyboard. Yes, you read that right. I love everything else about it.
So was the board everything I wanted? Yes. I set out to build a lightweight keyboard and I got exactly that. And to top it off, it’s affordable (your choice of switches or keycaps will affect the base price). It’s also an in-stock item that you can purchase any time from 1Up keyboards instead of having to wait for a group buy (unlike the Tokyo60). Oh, it also comes with USB C.
Overall, I am extremely pleased with the 1Up Keyboards HHKB and wouldn’t hesitate to recommend it to anybody looking for an easy to assemble, lightweight and affordable keyboard. It is also available in other styles (standard ANSI and Win key-less) if HHKB isn’t what you’re looking for.
Here’s a sound test of the 1Up Keyboards HHKB:
Leave a Reply to goodnewsgeorge Cancel reply