You learn something new every day. That’s what I believe, and I think it’s held true so far.
Over the past few weeks, I’ve done a lot of learning. You see, it’s been a while since I had to assemble a PC from scratch – the last one I did was a year ago. Over the past few weeks, it was my turn. To be honest, I didn’t need an upgrade, my PC was running fine, but since my nephews needed one to do school work from home (lockdown problems), I decided that it was time for me to get a new machine.
I said goodbye to my 10-year-old case (which had relatively new parts – the last upgrade was over 2 years ago) and scoured the internet for my next build. Jokes, I built my new PC first before giving away the old one. Since the experience is still fresh in my mind, I thought I’d write about it – maybe I’ll come back in five years’ time to see if anything has changed.
Cable management is a skill
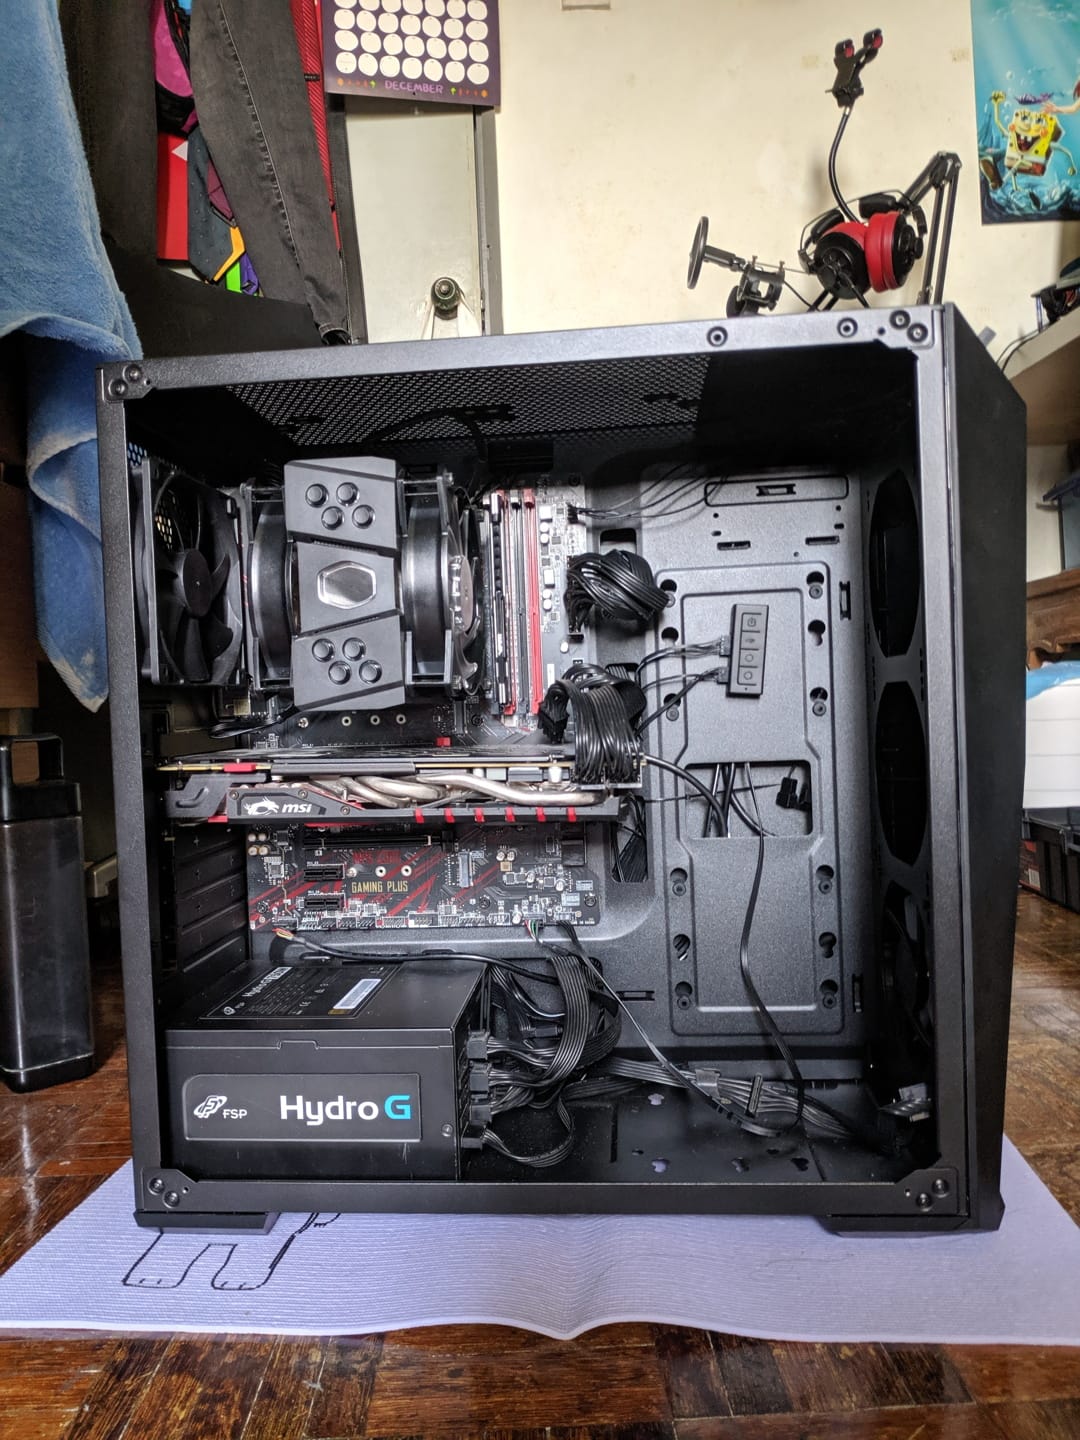
In the past, I’ve never cared about properly managing the cables in my PC – I had a metal case with no windows, the only person who would know what it looked like was me. This time around, my case has a clear side panel which people can peek into. I decided to give it a shot. Initially, I tried doing it without any help, but I realized I needed some guidance. A few YouTube videos later, I got the hang of it.

It’s not the best job, but I’m proud of my first successful attempt. Cable management requires patience and some trial and error. One of my biggest mistakes was making cable bundles too thick – this prevented the side door from closing properly, so I had to unbundle the wires and try again. Also, there’s no reason to use zip ties if you have twist ties – they can look just as neat and be as functional.
Old cases have terrible airflow
Nothing much to say here except that I can game at around 40 degrees. On my old PC, it was around 70 degrees. I think all the space inside the case makes a big difference. Also, Cooler Master is pretty good when it comes to bang for the buck. I can recommend their cases if you need something budget-friendly.
Cooler Master CPU Coolers are a bitch to install
A year ago, I had problems installing my friend’s CPU cooler (Cooler Master). Turns out, you had to remove the fans before installing it. This time around, I faced the same issue, but I didn’t know I had to remove the fans because they weren’t in the instructions. I watched a YouTube tutorial to find out. I wish they’d follow Noctua’s footsteps – those mounting brackets are ingenious – I managed to install their coolers successfully on my first attempt by following a tiny two-page manual.
On a side note, isn’t it incredible how people are willing to take the time to upload helpful videos onto YouTube? I’m pretty sure I wasn’t the first person that video has helped out.
RGBs have standards
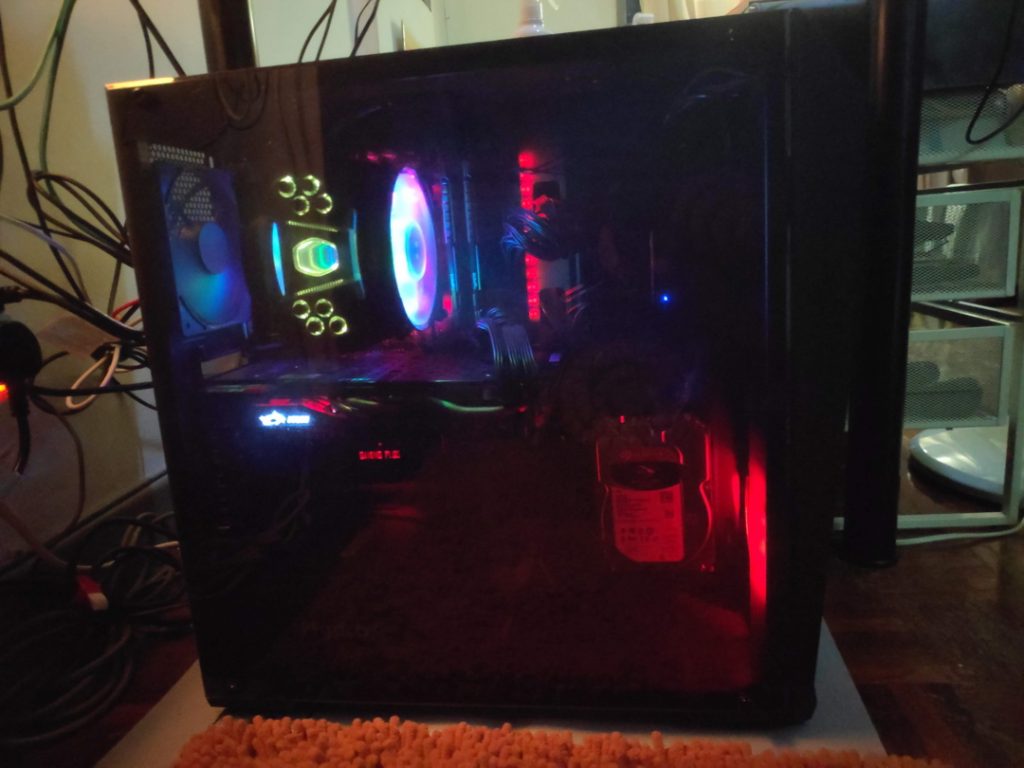
If you’re interested in having RGB components hooked up to your motherboard, you have to take note of the kind of connector they use. It wasn’t a big deal for me since I don’t care too much about RGBs, but my motherboard (which uses JRGB) didn’t support the connection on my Cooler Master CPU cooler RGB (JRAINBOW). While the lights work, I can’t use software to change the light settings. Fortunately, Cooler Master provided a little controller that you can fiddle around with to switch light modes.
RAM and motherboards
There is a reason the RAM slots on your motherboard are colored. You’re not supposed to simply stick the RAM in willy-nilly. Also, if the motherboard supports dual channel memory, get a dual-channel kit, or buy two RAM sticks. 8GB x 2 will perform better than a single 16GB stick. Also, don’t forget to enable XMP on your motherboard if you have high-performance RAM. If you don’t it won’t function at advertised speeds (nothing wrong with running at default speeds, but you could have paid for cheaper RAM instead).
Not all HDMI cables are equal
Because I gave away one of my monitors, I had to replace it with another (once you use two monitors, you never want to go back to one – you feel so handicapped). When I got the monitor, I kept using my old HDMI cable since it would be one less cable for me to unplug. Turns out, that was a bad idea. My monitor wouldn’t go to sleep when I had shut my PC down. Initially, I thought it was some monitor or software setting. I even tried exploring my BIOS to figure it out. I did some Googling and it turns out not all cables are equal. Long story short, I replaced the HDMI cable with the one the monitor came with and it now goes to sleep after the PC has turned off. I don’t know why, but that’s how I fixed the issue.
Speaking of new monitors, 144Hz displays are amazing. Even using Windows feels great! I had been using 60Hz screens forever since I never experienced fast refresh rate monitors before. Now that I have, it’s going to be difficult to switch back. Hopefully, 60Hz screens become a relic of the past in the future. Simply dragging windows or moving the cursor around is enjoyable. I would equate it to how responsive iOS is compared to Android – when it comes to scrolling up and down webpages, or just dragging icons around – people who have used both devices would know what I mean.
Mistakes:
I probably should’ve gotten a Ryzen processor – to be fair, I had bad experiences with an AMD machine in the past, which has led me to stick with Intel ever since then. But after reading and watching a lot more videos since I built the machine, AMD Ryzen is supposed to be the way to go – I could have saved myself quite a bit or upgraded my GPU (not that I needed to, my 980 Ti (thanks, Ken Jae) is more than adequate for me.
I removed one more rear PCI slot cover than I had intended to, and I can’t put it back without using glue.
Uninstalling your copy of Microsoft Office doesn’t give you an additional install (lol).
In conclusion, I’ve gained a lot of knowledge throughout the whole process and I look forward to the next time I put another computer together – I hope it’s not too soon (in my case, at least).
Learning never stops, until your heart (or brain) does.
Leave a Reply